Build a bee hotel for solitary bees
You don't need a workshop — a few hollow canes, a saw, and some twine are enough. These simple hotels give solitary bees the nesting nooks they can't find in a tidied garden. Here are three you can build this weekend.
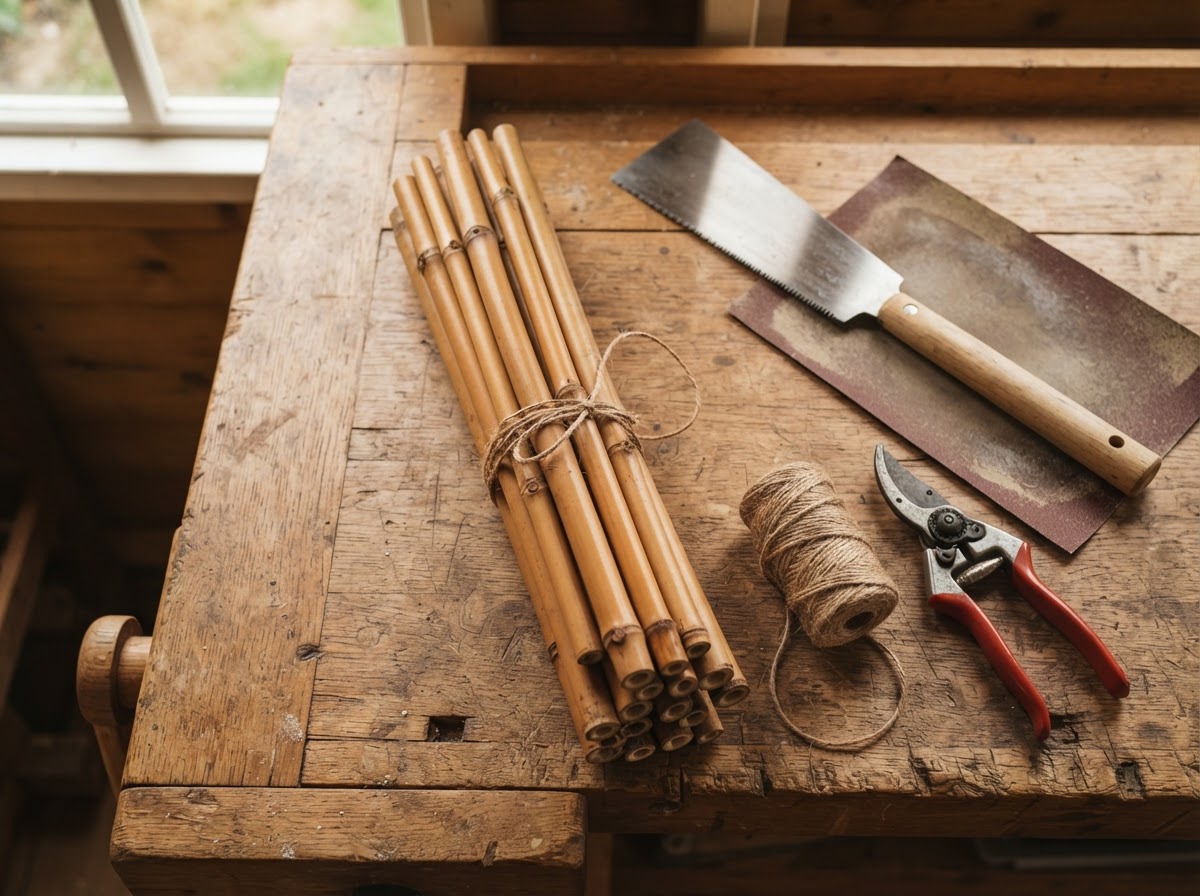
A home for the quiet majority
Of the UK's ~270 bee species, around 250 are solitary — mason, leafcutter, mining, and carder bees. They don't live in hives or make honey, and they almost never sting. What they need is a safe, dry, hollow stem to lay their eggs in.
Tidy gardens have removed most of the dead, hollow stems and bare soil they rely on. A bee hotel is a way to put them back — and it's one of the most rewarding DIY projects you can do for wildlife.
Pick a build to match your skills
Each method makes a real home for solitary bees. Start with the bamboo bundle if you're new — then work up to a drilled block once you're confident with a drill.
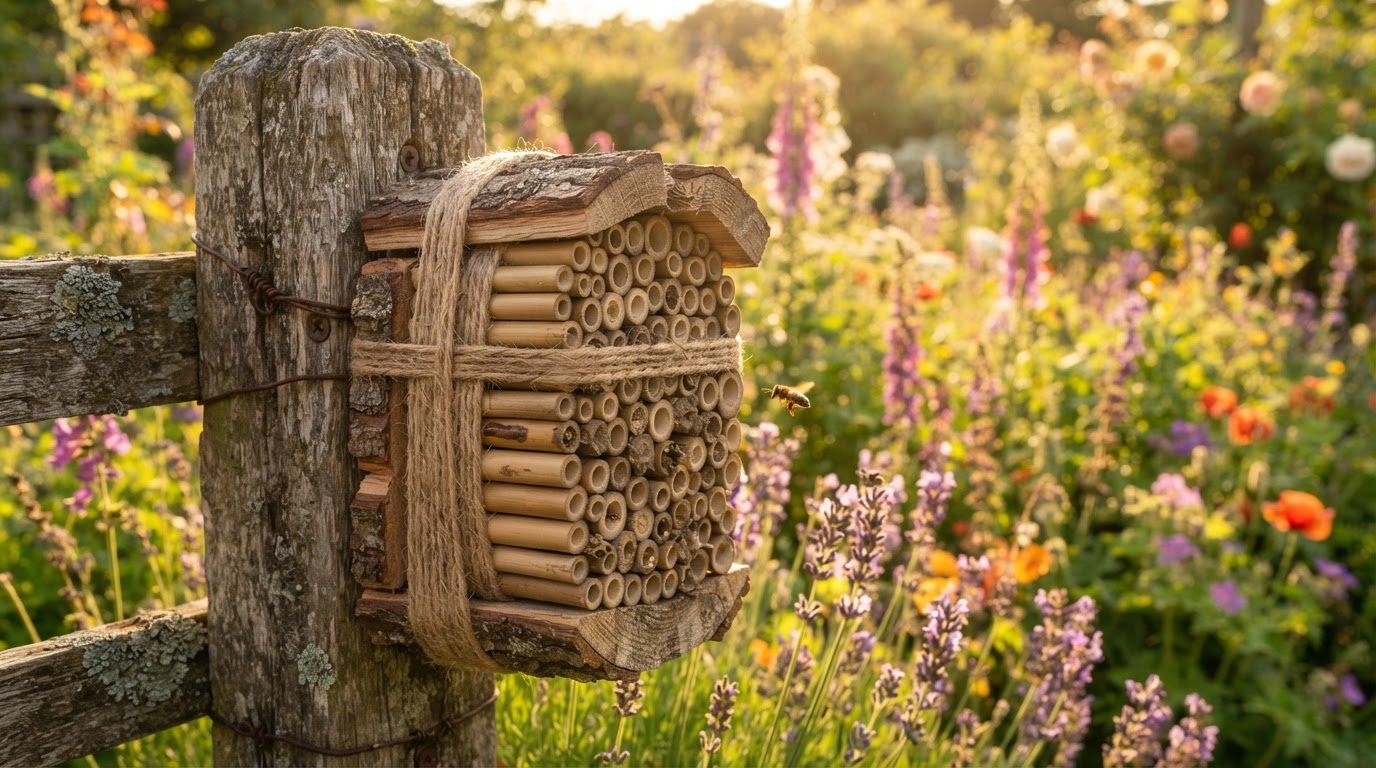
The bamboo bundle
The classic starter hotel. Hollow bamboo canes cut to 250mm lengths and tied in a tight bundle — gentle solitary bees love them and you need no tools beyond a saw.
This is the easiest entry point. Mason and leafcutter bees will nest in the hollow stems, sealing each tube with mud or leaf bits as their young develop.
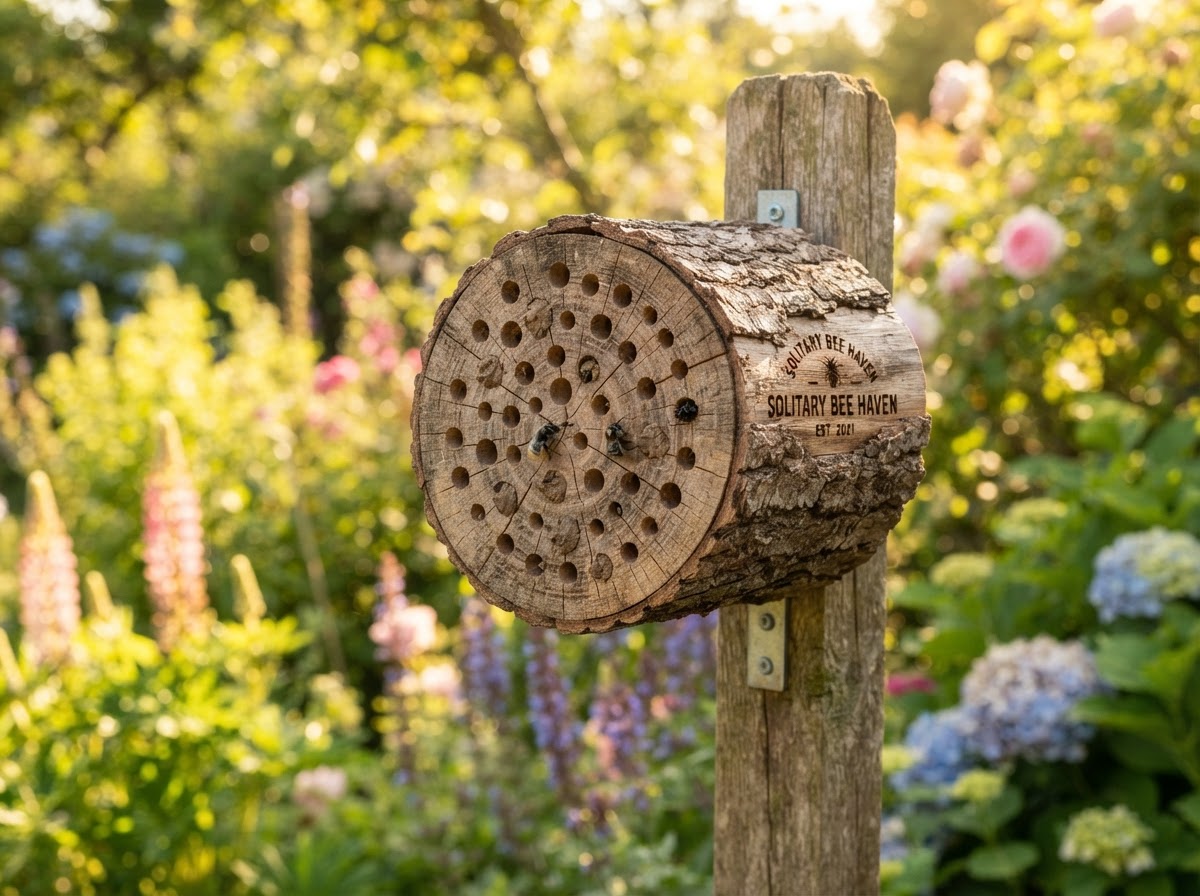
The drilled wood block
A chunky offcut of hardwood drilled with clean, dead-straight holes. Lasts for years and looks handsome on a garden post.
Drilled blocks favour mason bees. The key is smooth, unburned holes and a roof to keep rain out — wet nests fail.
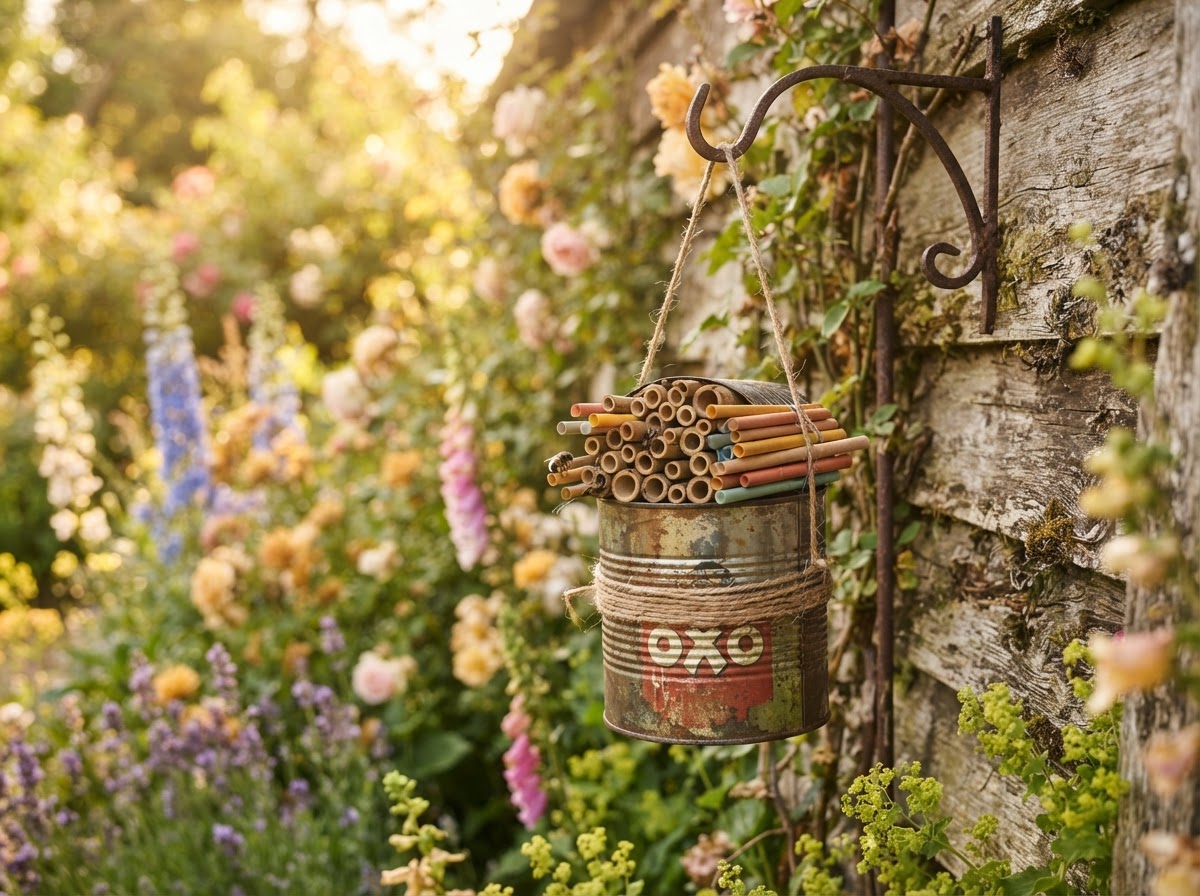
The recycled tin hotel
A clean tin can packed with paper straws or bamboo — the quickest, cheapest hotel and a great way to reuse what you have.
Fill the tin tightly so straws can't shift, cap the back, and hang it sheltered. Refresh the straws each spring to keep mites at bay.
Build it this weekend
Each method is broken into five clear stages. Work through them in order and don't rush the finishing — bees are picky about clean, dry entrances.
The bamboo bundle
- 1
Cut the canes to 250mm
Select bamboo that's already hollow (not just green and solid). Measure and mark 250mm lengths — a short ruler or a marked stick works. Saw cleanly between the nodes so each piece is open at one end and closed at the other.
- 2
Smooth the ends
Run a scrap of sandpaper or the back of a knife around each cut edge. Bees won't use tubes with jagged, splintered entrances — a clean, smooth opening invites them in.
- 3
Bundle and tie
Gather the canes into a tight bundle, all the closed ends pointing the same way. Wrap natural jute twine around the bundle several times and knot it firmly — tight enough that no cane can slide out.
- 4
Cap the back
Tape or tie a piece of cardboard or thin ply across the closed ends so nothing can crawl in from behind. The hotel only works if one end is sealed.
- 5
Hang it right
Mount it in full sun, facing south-east, about a metre off the ground, under a porch or tree to keep the worst rain off. Firmly fixed — solitary bees won't nest somewhere that swings.
The drilled wood block
- 1
Pick your block
Use a hardwood offcut — oak, beech, or fruitwood — at least 150mm deep. Avoid softwoods like pine; they split and absorb moisture, letting fungus ruin the nests.
- 2
Mark your hole pattern
Space holes roughly 20mm apart in a grid you like. Use a mix of diameters (4mm, 6mm, 8mm, 10mm) — different bees prefer different sizes, so variety means more guests.
- 3
Drill straight and deep
Drill dead straight into the face so each hole is blind (closed at the back). Go to within 15mm of the back but never break through. Clear the shavings out as you go.
- 4
Smooth the entrances
Bees reject rough, burned entrances. Deburr each hole with a countersink bit or sandpaper rolled into a cone. A clean, pale opening signals 'safe nest site'.
- 5
Add a roof and mount
Screw a small sloped roof board on top to shed rain, then fix the block to a post or wall in morning sun, about a metre up. Face it south-east and shelter it from prevailing wind.
The recycled tin hotel
- 1
Clean the tin
Any clean, dry tin can — soup, beans, or a large coffee tin. Remove the label and any glue, wash and dry thoroughly. Smooth the top edge if it's sharp.
- 2
Seal the base
Tape the open bottom so your straws can't fall through, or fold a disc of card to fit snugly inside. A sealed back is the one non-negotiable.
- 3
Pack the straws
Fill the tin with 8–10mm paper straws or short bamboo tubes, packed tightly so they can't shift. Cut them to the tin's depth so none poke out crookedly.
- 4
Hang it sheltered
Loop twine through the can or wire it to a hook. Mount under a porch, in a shed eve, or against a wall — somewhere dry, sunny in the morning, and protected from driving rain.
- 5
Refresh each spring
Each March, empty the old straws (compost the used ones) and refill with fresh. This breaks the mite cycle and keeps the hotel clean for the new season.
Six rules for a hotel bees will actually use
Full sun, south-east facing
Bees are cold-blooded and need morning warmth to get going.
Shelter from wind
Mount against a wall, fence, or hedge so prevailing winds don't buffet it.
Keep it dry
Add a small roof or tuck it under an eve. Wet nests fail — damp rots the cocoons.
Food nearby
Place within 100m of flowers — the Encourage page lists the best nectar-rich plants.
Don't go too big
A modest hotel of 20–40 tubes is plenty. Huge towers harbour mites and disease.
Leave it alone
Once occupied, don't move or disturb it until the following spring. Patience is the job.
The basic kit
You'll likely have most of this already. Nothing here is specialist or expensive — a few pounds at a hardware shop covers the lot.
Tools
- Small hand saw or hacksaw
- Sandpaper (medium grit)
- Drill with 4–10mm bits
- Tape measure or ruler
- Secateurs
Materials
- Hollow bamboo canes
- Natural jute twine
- Hardwood offcut (150mm+)
- Paper straws (8–10mm)
- Clean tin can
The payoff
Hang your hotel in early spring and watch for the first mason bees — fuzzy, blue or rust-coloured — investigating the tubes. By midsummer you'll see the ends sealed with mud or leaf. That's the next generation, already tucked up for winter.
Pair it with the right plantsReady to get started?
Start with a bamboo bundle this weekend, then learn the craft properly with our free webinar and beginner's guide.